
Quickstart: Restore Your Data
Updated July 5, 2026
Restoring is always available, with or without a license. Hiberden re-checks the hash on the way out, so every restore is also a verification. There are a few ways to do it.
Restore a whole archive
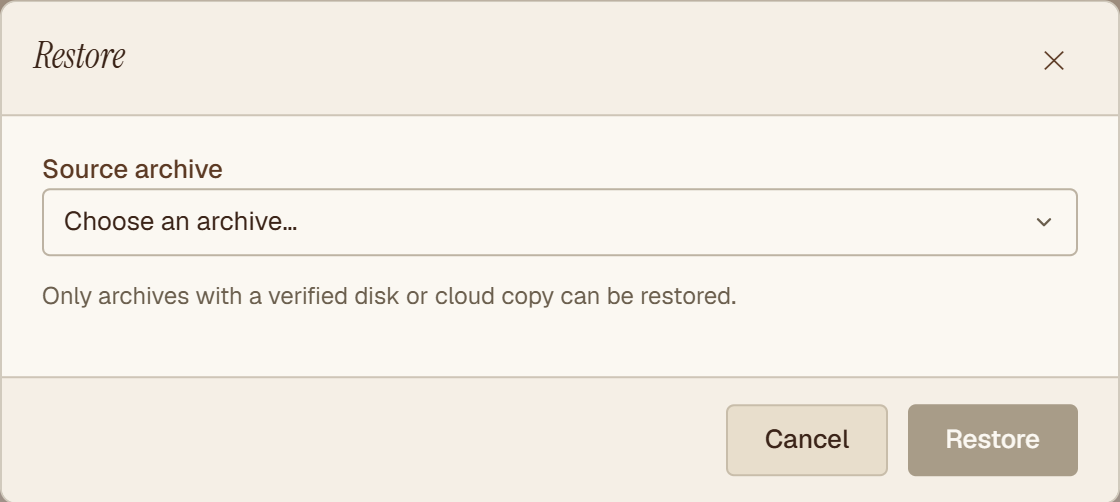
Click Restore in the header, then pick the archive you want back. Only archives with a verified disk or cloud copy can be restored, so the list already shows what is recoverable.
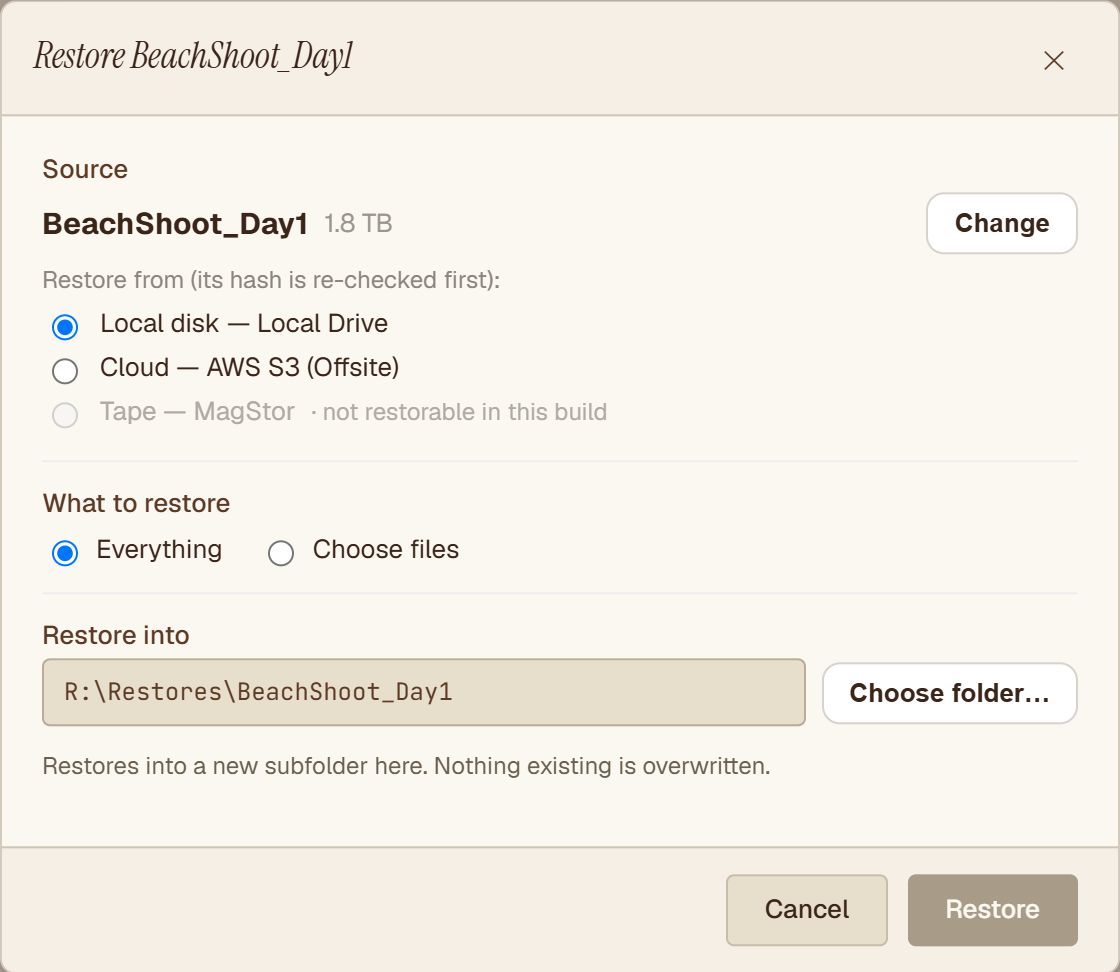
Next, choose which copy to restore from, local disk, NAS, or cloud, and pick a destination folder. Hiberden re-reads that copy, re-hashes it, and writes the files into a new subfolder. Nothing existing is overwritten.
Restore only some files
In the same dialog, switch What to restore from Everything to Choose files, then tick just the files or folders you need. Useful when you only want a handful of items out of a large archive.
Find and restore a single file with search
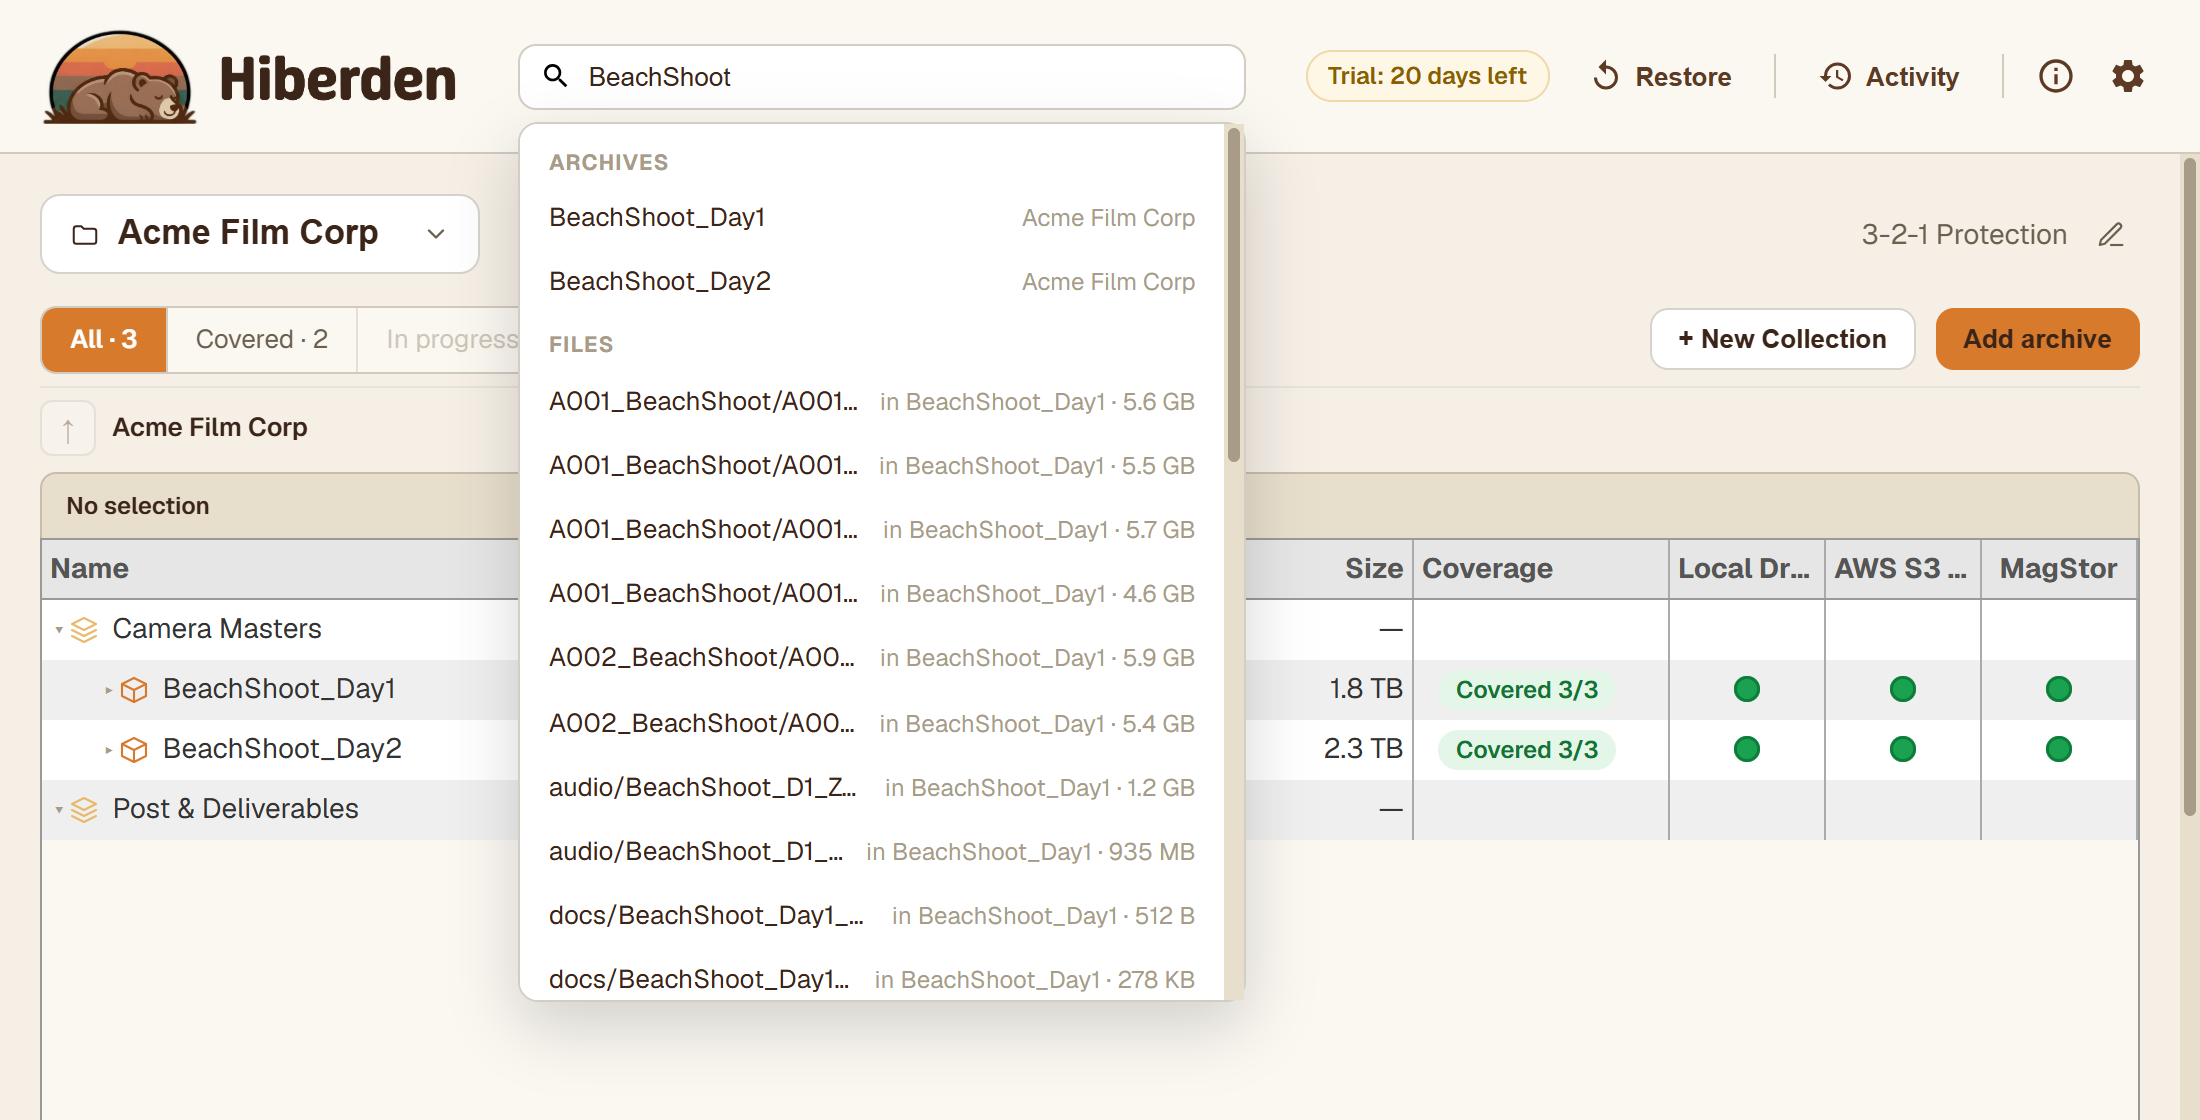
Not sure which archive a file is in? Type part of its name into the search box at the top of the window. Hiberden searches across every archive at the file level and shows each match with the archive it lives in, so you can go straight from "where is that file" to restoring it.
Every restore is verified
However you restore, Hiberden confirms the result: it reports how many files were written and that the archive verified on the way out.
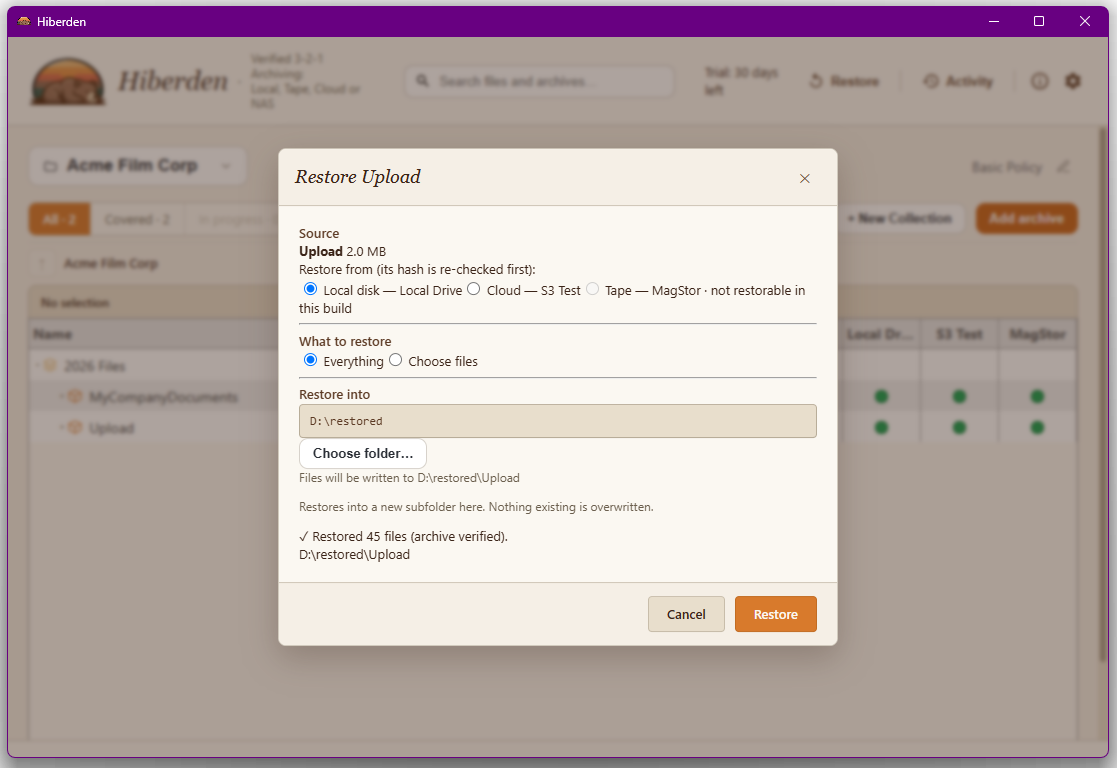
A note on tape: restoring from tape is not available in this build yet, restore from a disk, NAS, or cloud copy instead. For the ideas behind all this, see Verified 3-2-1 Archiving.